Applying lime plaster to a damp stone cottage fails not because of the plaster, but because of a misunderstanding of its purpose: it is a moisture management system, not a simple wall covering.
- Success depends on controlling the environment (temperature, humidity) to allow for the slow, essential chemical process of carbonation.
- Choosing the correct type of lime (NHL grade) for your specific stone and exposure is non-negotiable for durability.
Recommendation: Stop thinking about ‘covering’ a damp wall and start thinking about creating a ‘breathing’ envelope. Before you buy a single bag of lime, your first job is to understand and control the conditions in which it will have to live and cure.
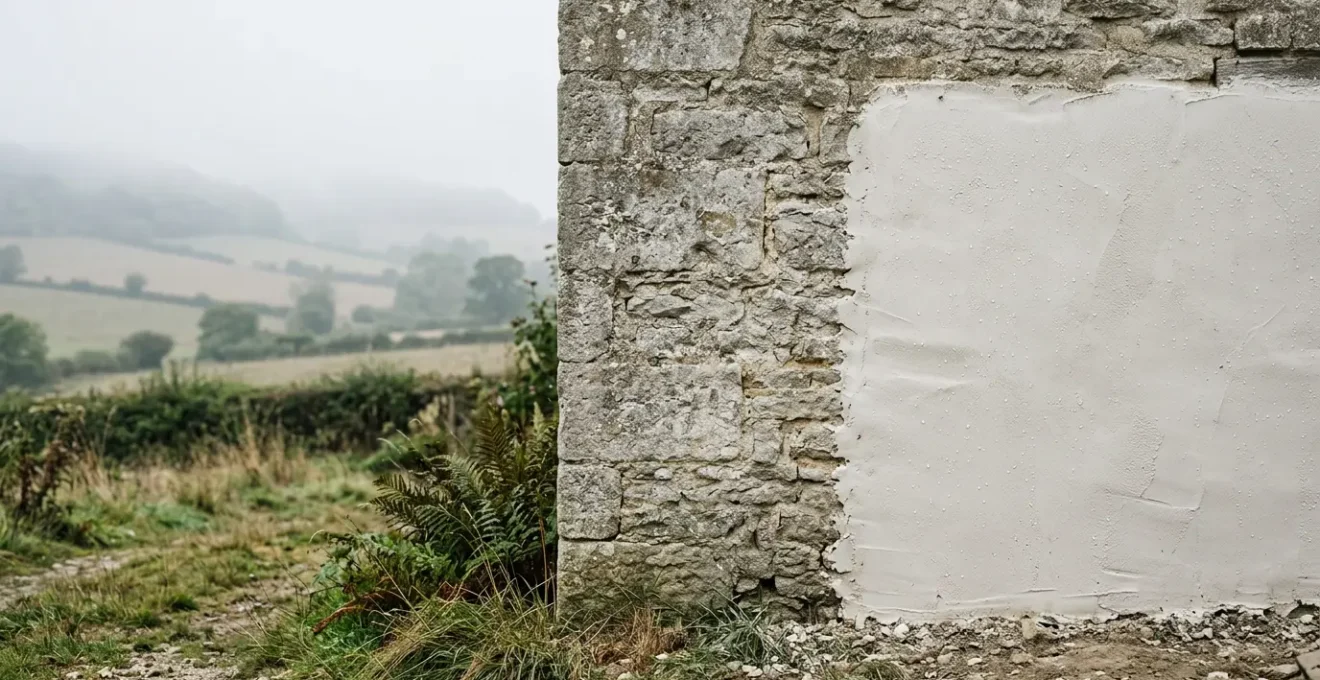
There’s a smell to a damp stone cottage in Wales or Scotland, a persistent chill that gets into your bones. You see the effects on your walls: powdery, crumbling patches of old plaster, and a tide mark of moisture that seems to defy all solutions. The common advice is often to patch it with modern gypsum plaster or, worse, to seal it with a cement-based render. I’ve seen the disastrous results of this approach for 25 years: moisture gets trapped, the stone deteriorates, and the problem gets exponentially worse.
Many people know the buzzword: ‘lime plaster’. They’ve heard it’s ‘breathable’. But this understanding is dangerously superficial. It leads to projects that fail, plasters that crack, and cottages that remain stubbornly damp. They treat lime like a fancy, old-fashioned version of gypsum, applying it with the same modern techniques and expecting the same rapid results. This is the root of every crumbling disaster I’ve been called in to fix.
But what if the key wasn’t the material itself, but how we think about it? The real secret to a dry, healthy stone cottage isn’t just using lime; it’s understanding that you are not merely plastering a wall. You are creating a dynamic, living part of your home’s structure. You are implementing a strategic moisture management system that works in harmony with the ancient stone, the damp air, and the changing seasons.
This guide isn’t just a set of instructions. It’s a shift in mindset. We’ll explore the ‘why’ behind lime’s slow magic, how to select the right materials for our uniquely damp UK climate, and how to avoid the critical mistakes that turn a dream restoration into a nightmare. We will treat your walls not as a problem to be covered up, but as a system to be understood and managed.
In this article, we’ll walk through the essential knowledge you need to master lime plaster. We will cover the science, the material choices, the environmental controls, and even draw lessons from seemingly unrelated materials to deepen your understanding.
Summary: A Practical Guide to Mastering Lime in Damp Environments
- Why Does Lime Plaster Take 4 Weeks to Cure When Gypsum Sets Overnight?
- How to Choose Between NHL 2, NHL 3.5 and NHL 5 Lime for Your Stone Walls?
- Lime Plaster or Clay Plaster: Which Controls Humidity Better in a UK Bathroom?
- The Heating Mistake That Cracks Lime Plaster in 80% of DIY Winter Projects
- When Should You Start a Lime Plastering Project to Avoid Frost Damage?
- How to Source Genuine Reclaimed Brick in the UK Without Breaking Salvage Laws?
- Why Does Your Limestone Patio Stain Instantly While Your Neighbour’s Stays Clean?
- How to Add Industrial Edge to a 1930s Semi Without Making It Feel Cold?
Why Does Lime Plaster Take 4 Weeks to Cure When Gypsum Sets Overnight?
The first and most crucial mental shift is understanding that lime and gypsum are not the same. Gypsum plaster sets through a rapid chemical reaction with water. It dries hard and fast, usually within hours. Lime does not ‘set’ in the same way; it ‘cures’. This is a completely different process called carbonation. Lime plaster hardens by slowly absorbing carbon dioxide from the air, effectively turning back into limestone (calcium carbonate) over a long period. This process requires air, humidity, and, most importantly, time.
While you might see initial hardening in a few days, the full chemical cure can take up to 12 months to fully harden. This isn’t a flaw; it’s the source of lime’s legendary flexibility and longevity. This slow, gradual hardening gives the plaster a slightly elastic quality, allowing it to accommodate the subtle, natural movements of an old stone building without cracking. Gypsum is rigid and brittle; when the building moves, it cracks. Lime moves with it.
Lime plaster takes up to 12 months to fully harden. Its slow hardening lets it move with the building, reducing cracking.
– Terrazzo USA, Lime Plaster Problems: Common Issues, Causes & Long-Term Durability
So, when you see your lime plaster still soft after a week, don’t panic. It’s not failing; it’s working. It’s beginning a months-long conversation with the air in your home. Your job isn’t to rush it; it’s to provide the right conditions for that conversation to happen. This patience is what separates a successful lime job from a pile of dust on the floor.
How to Choose Between NHL 2, NHL 3.5 and NHL 5 Lime for Your Stone Walls?
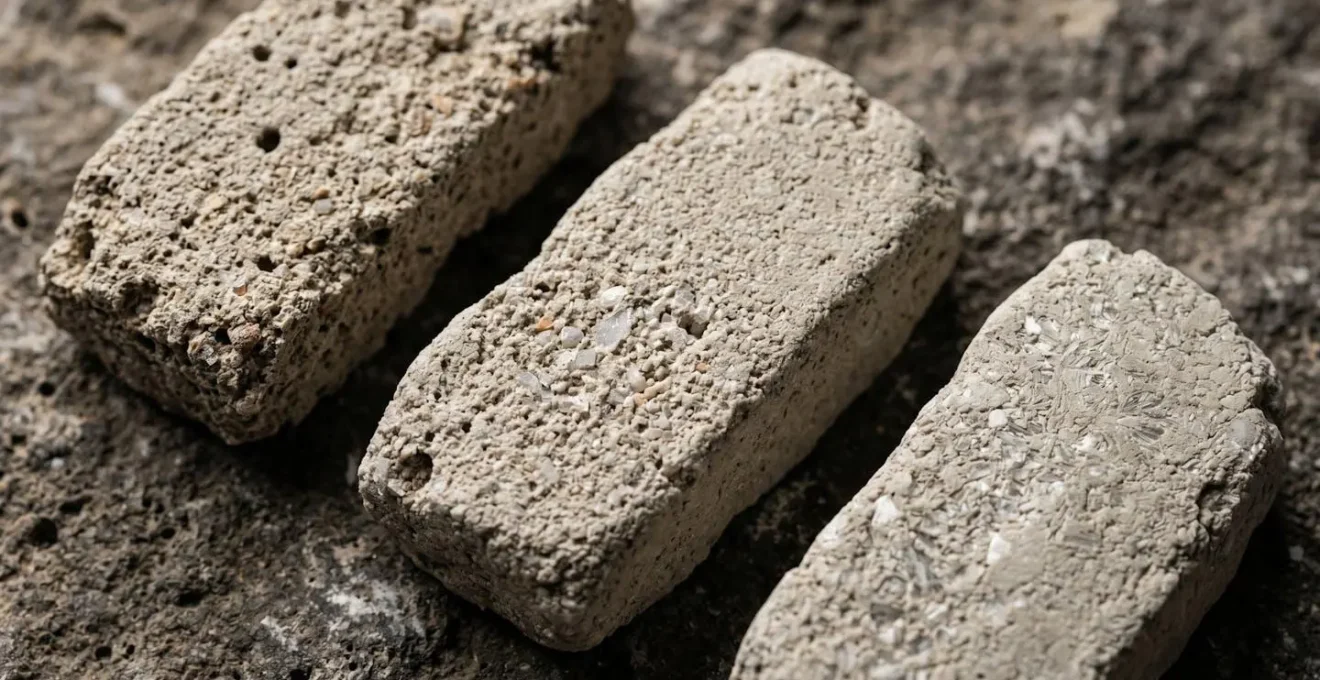
Walk into any specialist builders’ merchant and you’ll be faced with a choice: NHL 2, NHL 3.5, or NHL 5. These aren’t just arbitrary numbers. They represent the ‘hydraulicity’—or strength and speed of set—of the lime. Choosing the right one is arguably the most important decision you’ll make. The golden rule of heritage work is that the mortar or plaster must always be softer and more vapour-permeable than the stone it’s applied to. This makes the plaster ‘sacrificial’—any moisture or salts moving through the wall will be expressed through the plaster, which can be easily repaired, rather than damaging the irreplaceable stone.
Here’s a craftsman’s breakdown:
- NHL 2: The softest and most ‘breathable’. This is for internal work on soft, porous backgrounds like cob or very soft sandstone. It is the most forgiving and has the highest vapour permeability.
- NHL 3.5: The workhorse. This is your go-to for most general plastering and rendering on stone walls in places like Wales and Scotland. It has a good balance of strength, flexibility, and breathability, suitable for moderately dense stone and exposure to weather.
- NHL 5: The strongest. This is for severe exposure conditions: chimneys, parapets, or foundations. It’s to be used with caution, as it is the least breathable and can be too hard for many older, softer types of stone. Using NHL 5 where NHL 3.5 is needed can trap moisture and cause the face of the stone to spall off.
The choice is a direct reflection of your wall’s needs. A hard, dense granite in an exposed corner of the Highlands might call for NHL 3.5 or even NHL 5 in its pointing, while a soft, crumbling sandstone wall in a sheltered Welsh valley will demand the gentle touch of NHL 2.
Look at the texture of your stone. Feel its hardness. Consider how much rain it sees. The wall will tell you what it needs. Your job is to listen carefully and choose the lime that will support, not fight, its nature. An incorrect choice here is a foundational error that no amount of skillful application can fix.
Lime Plaster or Clay Plaster: Which Controls Humidity Better in a UK Bathroom?
In the perpetually damp environment of a UK bathroom, managing humidity is paramount. Both lime and clay plasters are hailed as ‘natural’ and ‘breathable’, but they perform this task in very different ways. While lime is an excellent regulator of moisture over the long term, for the rapid, intense bursts of humidity from a hot shower, clay plaster is the undisputed champion.
Clay’s superpower is its hygroscopic nature; it can absorb and release vast amounts of water vapour very quickly without changing its structure. It acts like a humidity sponge. Indeed, clay plaster can effectively maintain humidity levels from 30 to 60 percent, which is the ideal range for human comfort and for preventing mould growth. Lime is also vapour permeable, but it doesn’t ‘buffer’ humidity in the same active way; its main role is allowing moisture to pass through the wall structure slowly and consistently.
Case Study: The Science of Superior Moisture-Buffering
To put this in perspective, consider the cutting-edge research in this field. As reported by ScienceDaily, building physicists at Empa developed a special plaster that demonstrates the immense potential of moisture management. Their plaster could absorb 90 g of water vapour per square meter. This remarkable capacity was about 30% more than the best clay renders and more than double the performance of conventional lime-based plasters, showcasing just how significant the material choice is for active humidity control.
This is why, as an experienced plasterer, my recommendation often surprises people. For a bathroom, especially one with a shower, a top coat of clay plaster over a lime base can be the ultimate solution. The lime base provides the durable, water-resistant foundation needed for a wet area, while the clay finish actively manages the airborne humidity, keeping the air fresh and mirrors clear.
Clay plaster’s ability to control humidity makes it ideal for both humid and dry climates. In contrast, lime plaster focuses more on structural integrity and is less effective in humidity regulation.
– Conmarble, Clay Plaster vs Lime Plaster Understanding the Benefits of Natural Wall Finishes
It’s about choosing the right tool for the specific job. Lime is for the wall’s health; clay is for the room’s air quality. In a bathroom, you need both.
The Heating Mistake That Cracks Lime Plaster in 80% of DIY Winter Projects
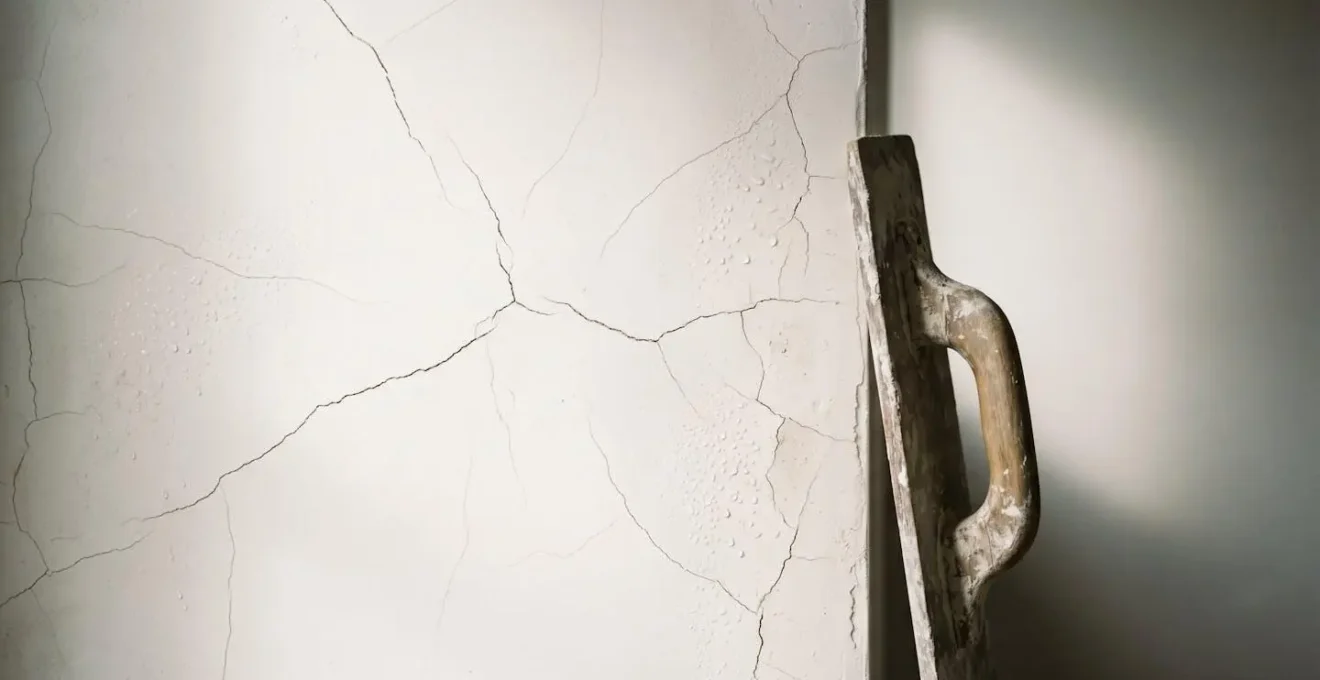
It’s a cold, damp winter day. You’ve just finished applying a beautiful, smooth coat of lime plaster. Your first instinct is to get it ‘dry’. You bring in a fan heater or crank up the central heating, pointing it directly at the wall. This is the single most common and destructive mistake I see, and it’s the reason so many winter DIY projects end in a web of cracks.
You are not drying the plaster; you are killing it. As we’ve established, lime cures through carbonation, a process that needs water. By applying direct, dry heat, you are rapidly sucking the essential moisture out of the plaster’s surface before it has a chance to carbonate. The surface shrinks rapidly while the plaster underneath is still soft and wet. This differential movement creates immense stress, resulting in a network of hairline cracks, a phenomenon known as crazing or map cracking. In severe cases, the plaster can delaminate entirely from the wall.
The damage is not just aesthetic; it’s structural. A force-dried plaster will be weak, powdery, and non-durable because the chemical conversion to limestone never properly occurred. It’s a tragedy because it stems from a good intention—the desire to speed things up. But lime cannot be rushed.
The correct approach is counter-intuitive: you need to keep the plaster from drying out too quickly. Gentle, low-level heat to keep the ambient temperature above freezing is fine, but it should be indirect. Airflow is more important than heat. A slowly circulating, humid environment is the ideal nursery for new lime plaster. As the experts at the UK’s top authority on lime state, the science is unequivocal.
Exposure to heat prior to carbonation can cause extreme shrinkage and lead to delamination and separation from the background. Carbonation of lime can only take place in the presence of water.
– Lime.org.uk, Lime Plaster failing/coming off background – Knowledge Base
When Should You Start a Lime Plastering Project to Avoid Frost Damage?
If rapid heating is the enemy of new lime plaster, its arch-nemesis is frost. Applying lime in temperatures that are too low is not a risk; it’s a guarantee of failure. The consequences of frost damage are catastrophic and irreversible. As the water in the fresh, wet plaster freezes, it expands by about 9%. This expansion acts like a tiny explosive charge, blowing the plaster apart on a microscopic level. It breaks the bond with the wall and destroys the internal cohesion of the plaster itself. The plaster will turn to mush when it thaws.
The critical threshold is universally agreed upon by lime professionals. According to established best practices, work should stop when temperatures are forecast to be below +5°C. This isn’t just about the air temperature during the day; you must consider the overnight temperature and the temperature of the wall itself. A thick stone wall in a shaded part of a Welsh valley will hold the cold for a long time.
So, when is the right time to start? The ideal ‘lime season’ in the UK is from late spring to early autumn—roughly April to September. This gives you a window of opportunity where you are less likely to encounter frost, and the longer daylight hours and milder temperatures create the perfect conditions for a slow, steady cure. Starting a major external rendering job in October is a gamble you are very likely to lose. For internal work, you have more control, but you must still be able to maintain a stable, frost-free environment (above 5°C) 24/7 for several weeks. This can be costly and difficult to manage in a draughty, unheated cottage.
Patience and planning are your greatest tools. It’s better to wait six months for the right season than to rush in and have to scrape a failed, frozen mess off your walls and start again. Protecting your work from frost isn’t just a final step; it’s a core part of the project’s strategy from day one.
Your Action Plan: Frost Protection for Fresh Lime Plaster
- Check the forecast: Never apply lime plaster if the temperature is forecast to drop below 5°C (41°F) within 48 hours of application. Monitor both day and night temperatures.
- Protect with hessian: Cover fresh plaster with layers of hessian sacking. This protects from wind and light frost while still being breathable. Never use polythene sheeting, which traps moisture and stops carbonation.
- Create a microclimate: For external work, use insulated coverings or sheeting tented away from the wall to trap a small amount of humidity and warmth, maintaining stable curing conditions.
- Keep it moist (but not freezing): Gently mist the plaster with water for several days to aid carbonation, but only when there is absolutely no risk of the water freezing on the surface.
- Monitor substrate temperature: Before you even mix your plaster, use an infrared thermometer to verify that the wall surface itself is consistently above 5°C.
How to Source Genuine Reclaimed Brick in the UK Without Breaking Salvage Laws?
This question about brick might seem off-topic, but the principle behind it is identical to choosing the right lime: provenance and compatibility are everything. Just as you wouldn’t use a hard cement mortar on a soft stone wall, you shouldn’t use a modern, dense engineering brick alongside soft, historic ones. Sourcing genuine reclaimed brick in the UK is a minefield of legal and technical challenges, but the core lesson for a lime plasterer is about understanding your materials.
When you buy ‘reclaimed’ bricks, you need to know their story. Were they from a 19th-century cottage, fired in a local clamp, and bedded in soft lime mortar? Or were they from a 1970s office block, machine-made, and bonded with unforgiving cement? The former will be soft, porous, and perfectly compatible with lime. The latter will be hard, impermeable, and will behave just like a sheet of plastic on your wall, trapping moisture and causing problems. The term ‘reclaimed’ means nothing without context.
Legally, you must ensure the bricks aren’t stolen from listed buildings or heritage sites. Reputable architectural salvage yards are your only safe port of call. They will have paperwork and can often tell you the origin of the materials. But even then, your craftsman’s eye is the final judge. Look for traces of old lime mortar, notice the irregular shapes and colours. These are signs of authenticity. The lesson for your stone cottage is this: every material you bring into it must respect the nature of the existing structure. Whether it’s brick, stone, or the plaster that covers it, you are a custodian, not just a builder.
Why Does Your Limestone Patio Stain Instantly While Your Neighbour’s Stays Clean?
Again, let’s take a lesson from outside the house and apply it to our damp cottage walls. The tale of two patios is a perfect analogy for the failure of modern ‘sealing’ methods versus traditional ‘breathing’ construction. Your limestone patio stains because it was likely treated with a modern, film-forming sealant. For a short time, it looked great. But that sealant is a microscopic layer of plastic. It gets tiny, invisible cracks. Water and dirt get *under* this layer, and they cannot get out. The sealant that was supposed to protect the stone now traps the dirt and moisture, leading to persistent green algae and black spots.
Your neighbour’s patio, on the other hand, likely wasn’t sealed at all. It was laid on a fully breathable bed of lime mortar and aggregate. When it rains, the water soaks in, and when the sun comes out, it evaporates freely from the entire surface. The stone can manage its own moisture levels. It can breathe. It cleans itself with every shower of rain.
Now, think of your stone walls. Applying a cement render or a non-breathable paint is exactly like sealing that patio. You trap the inherent dampness of the wall behind a plastic film. The result is blown plaster, crumbling stone, and a cold, damp interior. A lime plaster system is your neighbour’s patio. It allows the wall to manage its own moisture, letting it move harmlessly through the structure and evaporate away from the surface. It works *with* the water, not against it. Never trust a ‘solution’ that involves sealing an old stone wall. The stone will always win that fight.
Key Takeaways
- Lime plaster doesn’t ‘dry’, it ‘cures’ by absorbing CO2. This slow process (months, not days) is essential for its flexibility and requires a humid environment.
- The ‘NHL’ number (2, 3.5, 5) on a bag of lime indicates its strength. You must choose a grade that is softer than your stone to ensure the plaster is ‘sacrificial’.
- Never force-dry lime plaster with heat or apply it in frosty conditions (below 5°C). You will destroy the chemical curing process and guarantee failure.
How to Add Industrial Edge to a 1930s Semi Without Making It Feel Cold?
The final question brings us to the intersection of the ancient and the modern. How can the principles we’ve discussed—of material honesty, texture, and breathability—inform contemporary design? The answer lies in contrast and authenticity. The reason industrial design can feel cold is its reliance on hard, non-porous, machine-made surfaces: cold-rolled steel, plate glass, polished concrete.
Now, imagine a sharp, black steel beam set against a soft, undulating, hand-applied lime plaster wall. The contrast is what creates the magic. The wall is no longer just a neutral background; it is an active participant in the design. Its gentle, light-diffusing texture provides the perfect foil for the stark, clean lines of the metal. The wall brings warmth, texture, and a sense of history that balances the coldness of the industrial elements. It tells a story of craft, while the steel tells a story of industry.
This is the ultimate expression of confidence in traditional materials. We are not hiding them or trying to make them look like something else. We are celebrating their inherent qualities. A lime-washed wall, with its subtle variations in colour and texture, provides a depth and soul that a flat, lifeless sheet of plasterboard never can. It proves that what is practical—a breathing wall for a healthy building—is also what is most beautiful. The key to making a modern aesthetic work in an older home is not to erase the old, but to create a respectful dialogue between the two.
So, before you next touch your crumbling walls, take a step back. The solution isn’t in a bag from the DIY store. It’s in understanding the living, breathing nature of your home. It’s in choosing the right materials, respecting the seasons, and having the patience of a craftsman. Master these principles, and you won’t just be plastering a wall; you’ll be giving your old stone cottage back its lungs.