The common belief that adding soft furnishings makes an industrial interior ‘warm’ is a fundamental misunderstanding; true, lasting warmth in a period UK home comes from a technical mastery of acoustics, materiality, and light.
- Harshness in industrial spaces is primarily an acoustic issue caused by sound reverberating off hard surfaces, not just a visual one.
- Authentic, reclaimed materials hold and increase their value over time, while replicas degrade and quickly become worthless.
Recommendation: Shift your focus from simply ‘decorating’ with industrial objects to making strategic interventions in your home’s fabric—managing sound, humidity, and light with the right materials.
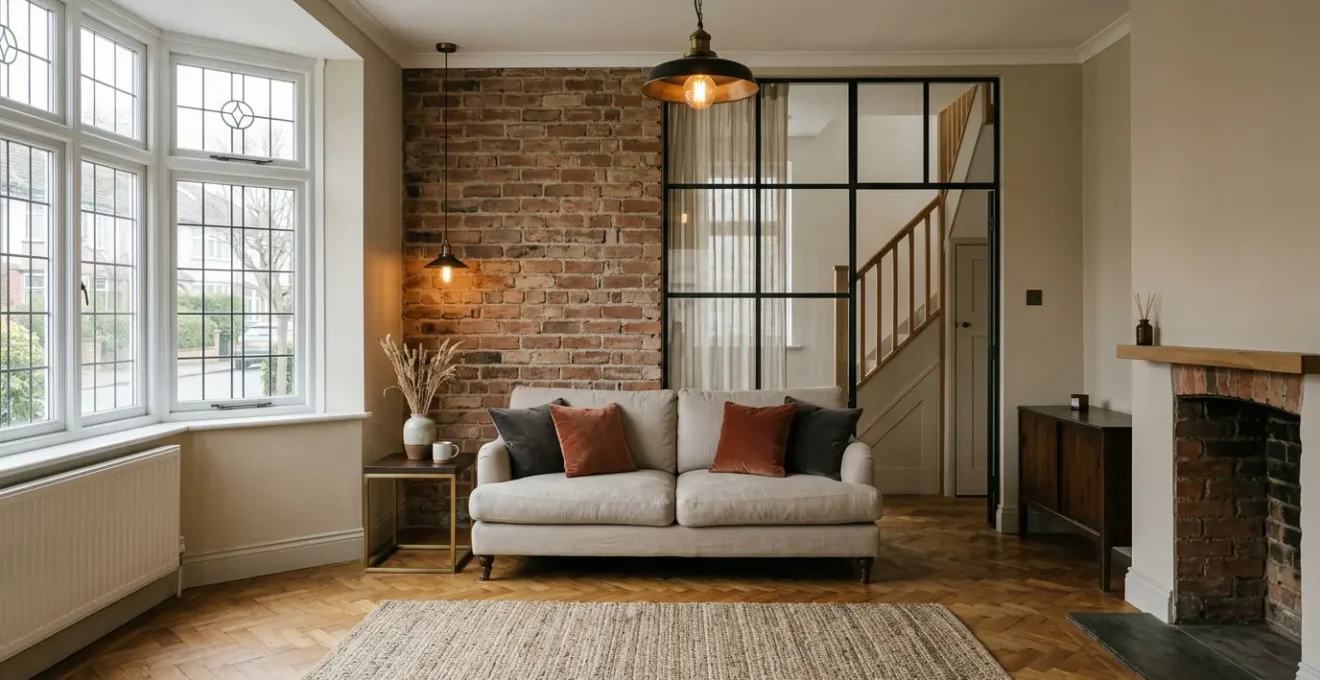
You’re drawn to the honesty of industrial design: the raw texture of reclaimed brick, the clean lines of black steel, the utilitarian chic of a factory pendant light. You’ve seen it work beautifully in cavernous lofts online and in magazines. Yet, a persistent fear holds you back from bringing it into your 1930s UK semi-detached home: the fear of coldness. Not just a drop in temperature, but a harsh, unwelcoming atmosphere that feels more like a warehouse than a sanctuary. The common advice—to just throw a few cushions and a woolly blanket at the problem—is simplistic and fails to address the core issue.
The truth is, achieving a successful industrial aesthetic is not an act of decoration. It is a technical exercise in material science and spatial psychology. The reason those magazine lofts feel cosy is due to a sophisticated, often invisible, manipulation of scale, acoustics, and light. The key isn’t to simply add soft textures to counteract the hard ones; it’s to choose materials that perform a specific function. It’s about understanding the provenance of a reclaimed brick to ensure it complements your home’s character and complies with UK law. It’s about recognising that the cold feeling is often an auditory experience—the echo of your footsteps on a concrete floor—that no amount of visual styling can fix.
This guide moves beyond the platitudes. We will deconstruct the core principles that make industrial interiors work, focusing on the specific challenges and opportunities within a 1930s UK property. We will cover the technical specifications of materials, the critical sequencing of installation, and the legal frameworks you must operate within. Prepare to think less like a decorator and more like an engineer who specialises in creating comfortable, high-value living spaces.
To navigate this transformation effectively, this article breaks down the essential technical and strategic decisions you’ll face. The following sections provide a clear roadmap, from understanding the core problem to mastering the practical application of specialist materials.
Contents: Mastering the Warm Industrial Home
- Why Do Industrial Lofts Feel Cosy in Magazines but Harsh in Real Life?
- How to Source Genuine Reclaimed Brick in the UK Without Breaking Salvage Laws?
- Vintage Factory Lamp or High-Street Replica: Which Holds Value Over 10 Years?
- The Plumbing Display Mistake That Fails UK Building Regulations in Rental Properties
- In What Order Should You Install Concrete Flooring, Steelwork and Soft Furnishings?
- Lime Plaster or Clay Plaster: Which Controls Humidity Better in a UK Bathroom?
- Why Does Your Jute Rug Smell Musty Every Autumn in Your Conservatory?
- How to Apply Lime Plaster in a Damp Stone Cottage Without It Crumbling?
Why Do Industrial Lofts Feel Cosy in Magazines but Harsh in Real Life?
The inviting warmth you see in photographs of industrial lofts is often a carefully constructed illusion of scale and lighting, not an inherent quality of the style. In reality, large, open-plan spaces with hard surfaces like concrete, steel, and glass are acoustic nightmares. Sound waves bounce uncontrollably, creating a harsh, clinical, and fatiguing environment. This auditory harshness is what our brains interpret as ‘cold’ long before we register the visual aesthetic. A 1930s semi, with its smaller, more defined rooms, has an acoustic advantage, but introducing large expanses of hard materials without a mitigation strategy will replicate the same unwelcoming feel.
The solution is not merely adding soft furnishings, but engineering acoustic absorption into the very fabric of the room. This involves a layered approach. Below the hard surfaces, materials like cork underlay can be used to dampen sound transmission. On the surfaces, you must apply the 70/30 scale rule: maintain 70% of the room’s character with softer, more traditional textures (your existing plaster walls, wooden floors, textiles) and limit the hard industrial elements to 30% to act as features. This prevents the industrial aesthetic from overwhelming the human scale of the space.
Finally, warmth is created through a sophisticated, three-zone lighting plan. Forget single, harsh overhead lights. You need task lighting (directional spots), ambient lighting (soft, diffused glows from floor lamps), and accent lighting (warm spotlights on features like brickwork). Critically, all bulbs should be a warm 2700K to replicate the « golden hour » light used by magazine photographers, creating a deep sense of comfort that a stark, cool-toned bulb can never achieve.
How to Source Genuine Reclaimed Brick in the UK Without Breaking Salvage Laws?
An exposed brick wall is a cornerstone of the industrial aesthetic, but for a 1930s property, authenticity is paramount. Using the wrong type of brick not only creates a jarring visual but can also lead to structural and legal issues. Sourcing genuine, era-appropriate reclaimed bricks in the UK is a regulated process designed to prevent architectural theft and ensure material quality. Your first point of call should always be a dealer who is a member of the SALVO Code, a peer-reviewed network of legitimate architectural salvage professionals. This is your primary assurance against inadvertently buying bricks stripped from a listed building without consent.
When approaching a dealer, you are not just buying a product; you are acquiring an asset with a history. You must request written provenance detailing the original building the bricks were salvaged from. For a 1930s semi, you should be specifically looking for materials like wire-cut facings or stock from the Art Deco period, rather than the more common Victorian ‘London Stock’ which will look out of place. Furthermore, you must clarify whether you need full bricks for a structural feature wall (which may require a structural engineer’s report) or lightweight ‘brick slips’ for a decorative finish. Slips are often the superior choice for a 1930s cavity wall, as they don’t compromise the wall’s insulation or structural integrity.
Finally, safety and compliance are non-negotiable. Reputable dealers will be able to provide information or certificates regarding professional cleaning to remove contaminants from older demolition sites, such as lead paint residue or lime mortar. A full due diligence process is essential to ensure your feature wall is a safe, legal, and valuable addition to your home, not a future liability. An analysis by dealers adhering to the SALVO Code highlights the importance of this verification process.
Your Action Plan: Verifying Reclaimed Brick Provenance
- Dealer Verification: Locate a dealer displaying the SALVO Code crane logo. Cross-reference their membership status on the official SalvoWEB online directory to confirm they are a current, peer-reviewed member.
- Provenance Documentation: Request and review written documentation of the bricks’ origin. Ensure it confirms the source was not a listed or protected building that lacked legal consent for alteration.
- Safety & Contaminant Checks: Ask the dealer directly about testing for lead paint residue, asbestos traces, and other contaminants. Request any available professional cleaning certificates for peace of mind.
- Period & Structural Matching: Specify you need era-appropriate bricks (e.g., 1930s wire-cut facings) for period harmony. Decide with your builder whether full bricks or lightweight brick slips are structurally appropriate for your property’s wall type.
- Final Compliance Confirmation: Before finalising the purchase, ensure the dealer can provide a clear invoice stating the provenance and type of brick, serving as your record of a legitimate and compliant transaction.
Vintage Factory Lamp or High-Street Replica: Which Holds Value Over 10 Years?
Industrial lighting is a key focal point, but the choice between a genuine vintage piece and a modern replica has profound implications for both the authenticity of your design and your long-term financial investment. A genuine vintage factory lamp from a respected maker like Benjamin or Holophane is an asset. It is crafted from superior materials like vitreous enamel and solid cast iron, which do not simply wear out—they develop a rich, desirable patina over time. A high-street replica, conversely, is a disposable item. Typically made from powder-coated or plated steel, its finish will chip, tarnish, and rust, rendering its resale value near-zero within a decade.
The initial cost is often the deciding factor for many, but it’s a false economy. While a genuine, unrestored vintage lamp may require a specialist to rewire it to meet UK safety standards (BS 7671), this one-off cost secures a piece that often appreciates in value. In contrast, a cheap replica offers out-of-the-box compliance but is a depreciating asset from day one. High-quality replicas from heritage brands like Anglepoise can be a good middle ground, holding their value better than budget options, but they will never achieve the appreciation of a true authenticated original.
Market Study: 1930s Holophane Light Value Appreciation
A market analysis of authentic 1930s Holophane prismatic glass pendants highlights this appreciation clearly. An original English-made Holophane pendant from the 1930s, purchased unrestored for around £200 in 2015, now commands prices of £300-£600 once professionally restored and authenticated. This represents a 40-60% appreciation over the decade, driven by the intact maker’s mark, the condition of the prismatic glass, and certified rewiring. Conversely, modern Holophane-style replicas bought for £150 in the same year now struggle to sell for £30, an 80% loss in value due to material degradation and lack of provenance.
The following table breaks down the key differences in long-term value retention. This data, drawn from market trends on specialist antique platforms, makes the financial case for investing in authenticity.
| Factor | Genuine Vintage (e.g. Benjamin, Holophane) | High-Quality Replica (e.g. Anglepoise, Jielde) | Budget High-Street Replica |
|---|---|---|---|
| Initial Cost | £200-£800+ | £150-£400 | £40-£120 |
| Material Quality | Vitreous enamel, solid brass, cast iron | Vitreous enamel or solid brass fittings | Powder-coating, plated steel |
| UK Safety Compliance | Requires costly rewiring to BS 7671 (£80-£200) | Compliant out of box, warranty included | Compliant but minimal warranty |
| 10-Year Finish Degradation | Develops desirable patina, value increases | Minimal wear if quality enamel/brass used | Powder-coating chips, fake brass tarnishes, steel rusts |
| Resale Value After 10 Years | Often appreciates 20-50% if authenticated | Holds 40-60% of original value if branded | Near-zero resale value |
| LED/Dimmer Compatibility | May require specialist adapters for modern bulbs | Designed for modern LED and dimmer systems | Basic compatibility, limited dimming |
The Plumbing Display Mistake That Fails UK Building Regulations in Rental Properties
Exposed copper or steel pipework is a classic industrial trope, but its implementation in a UK home is governed by strict safety and efficiency standards. While the regulations are most stringent for rental properties, they represent best practices that every homeowner should follow to ensure safety, comfort, and energy efficiency. The most critical mistake is exposing hot water pipes in accessible areas without fitting Thermostatic Mixing Valves (TMVs). These devices blend hot and cold water to a safe, pre-set temperature, preventing the severe scalding risk posed by pipes that can reach 60°C or higher. This is a non-negotiable safety feature.
The second major compliance failure relates to energy efficiency. Under UK Building Regulations Part L, primary circulation pipes must be insulated to prevent heat loss. Exposing pipes for purely aesthetic reasons without adequate insulation is not just inefficient and costly—it’s a breach of regulations in new builds and major renovations. This doesn’t mean you can’t have the look. The solution is to use high-specification insulation that becomes part of the aesthetic. Instead of standard foam, you can specify coloured rope-wrap, leather pipe wrap, or custom wooden boxing that maintains the industrial feel while meeting thermal efficiency standards.
For homeowners, the guiding principle should always be the landlord’s ‘duty of care’ as defined in the Landlord and Tenant Act 1985. This legal framework mandates that a property’s fixtures must be safe and efficient. Exposed pipework that leads to safety hazards or significant energy waste would fail this test. Therefore, adhering to these rules isn’t just about compliance; it’s about creating a responsible and high-performing home. Before undertaking any work, it’s wise to review the latest guidance on current UK plumbing and heating regulations to ensure your design is fully compliant.
In What Order Should You Install Concrete Flooring, Steelwork and Soft Furnishings?
The sequence of installation is one of the most critical and overlooked aspects of achieving a high-quality industrial finish. Getting the order wrong can lead to damaged surfaces, costly rework, and a compromised final result. The guiding principle is to work from the most structural and messy elements to the most delicate and finished ones. This logical workflow protects your investment at every stage.
The absolute first stage involves any structural steelwork. This includes the installation of RSJs (Rolled Steel Joists) to open up spaces or any steel-framed internal partitions (like Crittall-style doors). This work is disruptive, generates significant dust, and requires heavy lifting. It must be completed before any finished surfaces are even considered. Once the steel is in place and signed off by a structural engineer, you can move to the floors.
Your concrete flooring comes next. Whether you are pouring a new polished concrete slab or applying a microcement finish, this is a wet trade that requires a significant curing period. A new concrete floor needs at least 28 days to cure properly before it can be sealed or bear heavy loads. Walking on it too soon or, worse, allowing other trades to work on it, can cause permanent damage. After the floor is fully cured and sealed, all major electrical and plumbing first-fix work should be completed. Only then should walls be plastered and the first coat of paint applied. All ‘dirty’ work must be finished before the final, delicate stage: introducing soft furnishings. Rugs, sofas, curtains, and other textiles should be the very last items to enter the room, protecting them from construction dust and damage.
Lime Plaster or Clay Plaster: Which Controls Humidity Better in a UK Bathroom?
In the pursuit of warmth and comfort, managing a room’s ambient humidity is just as important as managing its temperature. This is especially true in bathrooms, where industrial materials can exacerbate problems with condensation. Both lime and clay plasters are ‘breathable’ materials, but they perform very differently when it comes to managing moisture. Their ability to do so is known as hygroscopic buffering—the capacity to absorb moisture from the air during periods of high humidity (like a hot shower) and release it back as the air dries.
Clay plaster has a higher hygroscopic buffering capacity. It can absorb more moisture per square metre, making it excellent for maintaining a consistent, stable level of low humidity. However, it is slower to release this moisture. Lime plaster, while absorbing slightly less, releases moisture much faster. This makes it superior for recovering from ‘peak load’ events, like the intense steam from a hot shower. For a typical family bathroom with sharp peaks in humidity, lime plaster’s faster recovery is often more beneficial. Furthermore, lime plaster is naturally alkaline (high pH), which makes it highly resistant to mould growth, a significant advantage in a damp UK environment.
For ultimate performance in wet zones like shower enclosures, a specialist polished lime plaster like Tadelakt is the superior choice. Its polished, non-porous surface is completely waterproof while retaining the alkaline, mould-resistant properties of lime. It is crucial to note, however, that while these plasters manage ambient humidity, they are not a substitute for proper ventilation. UK Building Regulations Part F (Ventilation) still requires a mechanical extractor fan in any bathroom. The choice of plaster is about enhancing comfort, not replacing essential systems. The following comparison, based on data about modern plaster performance, clarifies the best application for each.
| Performance Factor | Clay Plaster | Lime Plaster | Tadelakt (Polished Lime) |
|---|---|---|---|
| Hygroscopic Buffering Capacity | High – absorbs more moisture per m² for consistent low-level humidity | Moderate – absorbs less than clay but releases faster | Low – polished surface is waterproof |
| Peak Load Recovery | Slower moisture release after hot shower events | Faster moisture release – better for recovering from peak steam | Immediate – water beads off surface |
| Mould Resistance | Moderate – pH neutral, can be susceptible if saturated | High – naturally alkaline (high pH) inhibits mould growth | Highest – waterproof and alkaline |
| Compliance with UK Building Regs Part F | Plaster alone insufficient – requires mechanical extractor (MEV/dMEV) | Plaster alone insufficient – requires mechanical extractor (MEV/dMEV) | Requires extractor but waterproof for wet zones |
| Best Application Zone | General bathroom walls away from direct water spray | General bathroom walls with good ventilation | Shower enclosures, behind sinks, wet zones |
| Breathability | Excellent – full breathability maintained | Excellent – traditional breathable finish | Compromised when polished but superior water resistance |
Why Does Your Jute Rug Smell Musty Every Autumn in Your Conservatory?
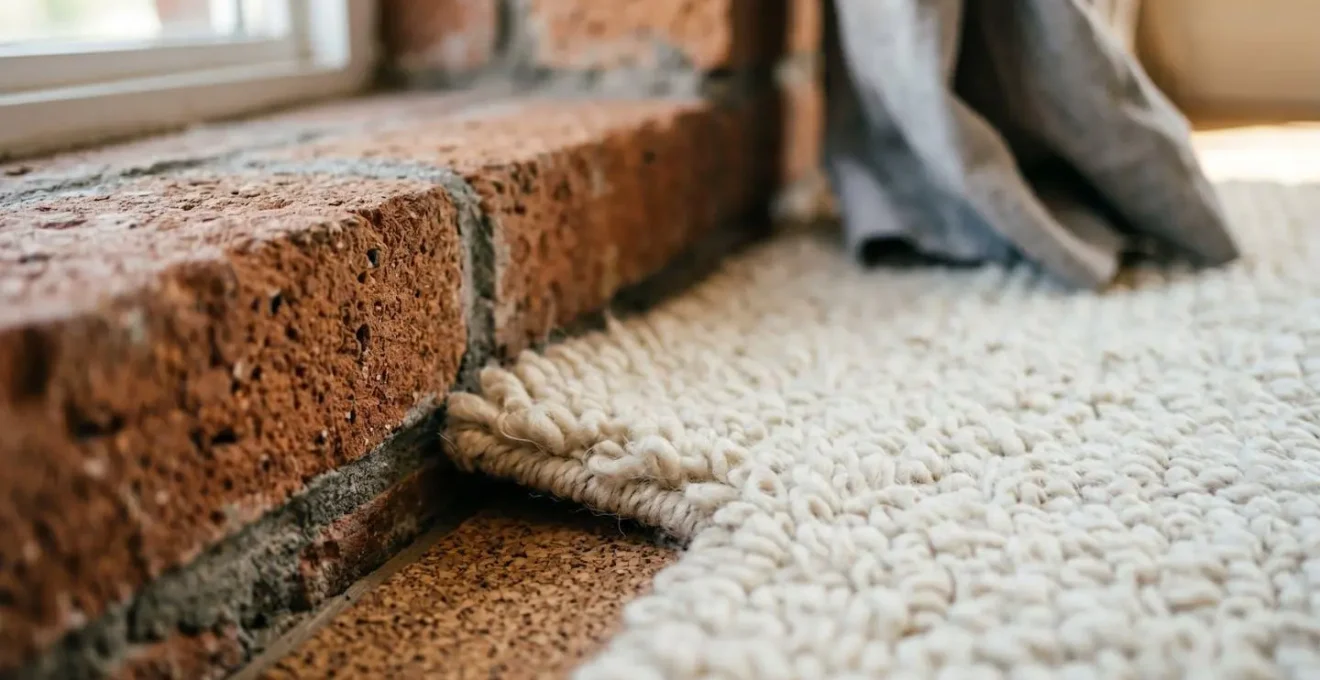
That recurring musty smell from your jute or sisal rug each autumn is a direct result of its natural material properties interacting with the UK climate. Natural fibres like jute are highly hygroscopic, meaning they readily absorb moisture from the surrounding air. In fact, research on hygroscopic natural fibres shows that jute can absorb moisture up to 12-14% of its own dry weight. During the warm summer, this moisture evaporates quickly. However, in autumn, when the temperature drops overnight, the air in a conservatory cools rapidly, hitting its ‘dew point’. This causes ambient humidity to condense into liquid water on the coldest surface available—your floor. The jute rug acts like a sponge, trapping this condensed moisture against the cool floor, creating the perfect breeding ground for mould and mildew, which produces the characteristic musty odour.
The solution is a two-pronged approach: reducing moisture and increasing air circulation. First, you must break the direct contact between the rug and the floor. In late September, lift the rug and place a breathable anti-slip underlay beneath it. This creates a small air gap, allowing moisture to evaporate rather than being trapped. Running a dehumidifier during these ‘shoulder seasons’ (September-November and March-May) will also dramatically reduce the amount of ambient moisture available to condense.
The second part of the solution is seasonal maintenance. On the first dry, sunny day of spring, you must take the rug outside and let it air out for several hours to release all the accumulated winter damp. For a long-term fix, consider replacing the jute with a more resilient alternative. Sisal is more durable and slightly less absorbent. For a truly worry-free solution in a high-condensation area like a conservatory, modern outdoor-grade polypropylene rugs are designed to mimic the look of natural fibres while being completely resistant to mould and mildew. This proactive management prevents the problem, ensuring your soft furnishings contribute warmth, not a musty smell.
Key Takeaways
- The 70/30 Rule: To maintain warmth and human scale, limit hard industrial elements (steel, concrete) to 30% of your room, with the remaining 70% dedicated to softer, period-appropriate textures.
- Invest in Authenticity: Genuine vintage lighting and reclaimed materials with clear provenance are assets that appreciate in value, while cheap replicas are disposable items that quickly degrade.
- Compliance is Not Optional: Adhering to UK Building Regulations for insulation (Part L), ventilation (Part F), and safety (TMVs) is essential for creating a comfortable, efficient, and legally sound home.
How to Apply Lime Plaster in a Damp Stone Cottage Without It Crumbling?
While your 1930s semi may not be a damp stone cottage, the principles of applying lime plaster to manage moisture in old buildings are directly transferable and essential for success. The primary reason lime plaster fails—crumbling or ‘blowing’ off the wall—is because it’s applied over a surface that traps moisture, like modern cement mortar or plastic-based paint. Lime plaster works by being ‘breathable’; it must be able to absorb moisture from the wall and release it into the air. If a non-breathable layer is in the way, that moisture gets trapped, and the plaster is pushed off. Therefore, the first, non-negotiable step is to strip the wall back to its original substrate, removing any materials that could block evaporation.
The correct application is a traditional three-coat system, with each layer performing a specific function. The first, a ‘hot-lime scat coat’, is a thin slurry flicked onto the wall to create a strong chemical bond. The second, a ‘floating coat’, builds up the depth. This layer is crucial; it often includes hair reinforcement for tensile strength and acts as the main sacrificial layer for managing moisture movement. For persistently damp areas, a pouzolanic additive like brick dust can be added to this coat to induce a slight hydraulic set, increasing durability without sacrificing breathability.
The final ‘setting coat’ provides the smooth finish. However, the most critical phase is the curing. Unlike modern gypsum plaster that dries quickly, lime plaster cures through a slow process of carbonation, re-absorbing carbon dioxide from the air. This can take weeks. It must be protected from drying too quickly, which means shielding it from direct heat or wind and often keeping it damp with hessian sheets or misting. Rushing this process is the single biggest cause of failure. Mastering this patient technique ensures a finish that will perform for decades, actively managing your home’s internal environment to create a stable, comfortable, and ‘warm’ feeling space.
Your next step is to conduct a material audit of your own space. Armed with this knowledge, you can build a detailed specification list for your project—focusing on performance, provenance, and compliance, not just aesthetics. This is how you transform a house into a truly comfortable and valuable home.